本文目录 ⌄
上一节创建了一个SelectSql方法,实现了查询。但如果想实现自定义的查询,需要重写自定义JDBC类中的SelectSql方法,首先我们想这样写:
ResultSet SelectSql(String sql){
        Connection connection=null;
        Statement search=null;
        ResultSet rs = null;
        try {
            Class.forName("com.mysql.jdbc.Driver");
            String url = "jdbc:mysql://127.0.0.1:3306/test";
            connection = DriverManager.getConnection(url, "root", "1qazxsw2");
            search=connection.createStatement();
            rs = search.executeQuery(sql);
            return rs;
        } catch (Exception throwables) {
            throwables.printStackTrace();
            if(rs!=null){
                try {
                    rs.close();
                } catch (SQLException e) {
                    e.printStackTrace();
                }
            }
            if(search!=null){
                try {
                    search.close();
                } catch (SQLException e) {
                    e.printStackTrace();
                }
            }
            if(connection!=null){
                try {
                    connection.close();
                } catch (SQLException e) {
                    e.printStackTrace();
                }
            }
        }

    }
这个方法返回Result方法,看似没有问题,但实际运行时会报错,因为在执行时,rs已经被关闭了。
使用接口实现
定义一个名为IRowMapper的接口
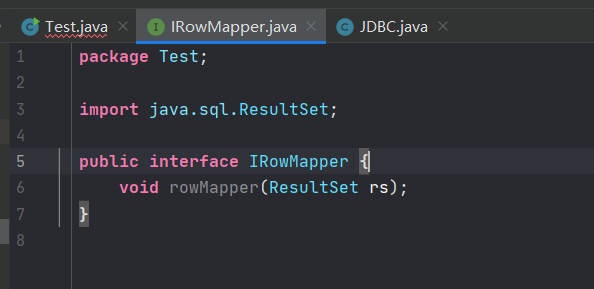
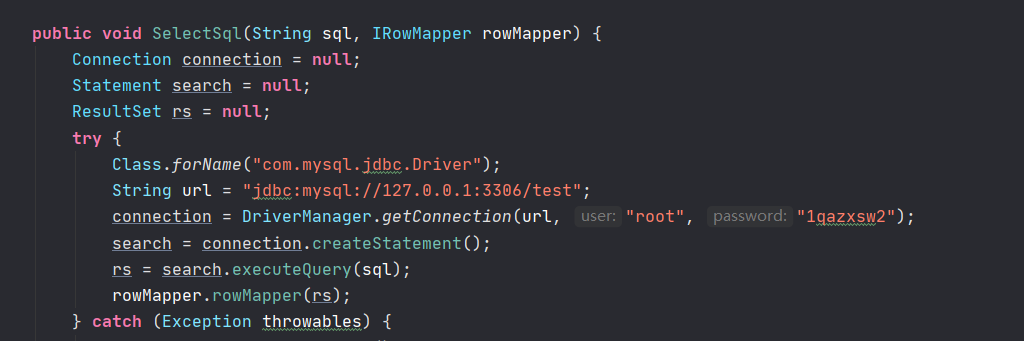
在SelectSql中,通过调用接口里的方法实现查询。
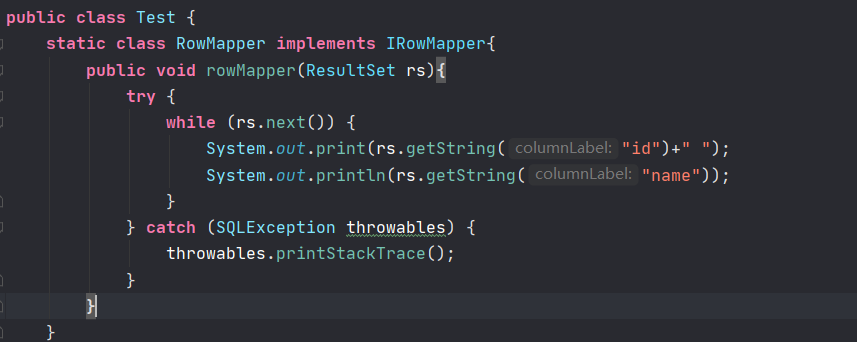
在主方法里写出一个实现接口的类
之后我们就可以传递接口实例,去实现Select了
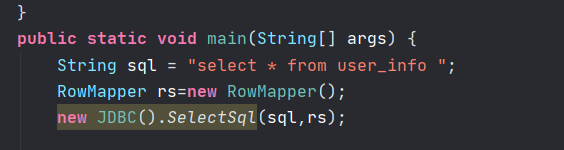
执行结果
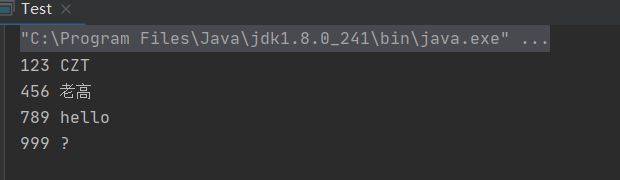
这样就解决了自定义查询的问题!每次把自定义查询的内容写在接口的实例里就好。
改进
把资源释放写成方法,实现代码复用
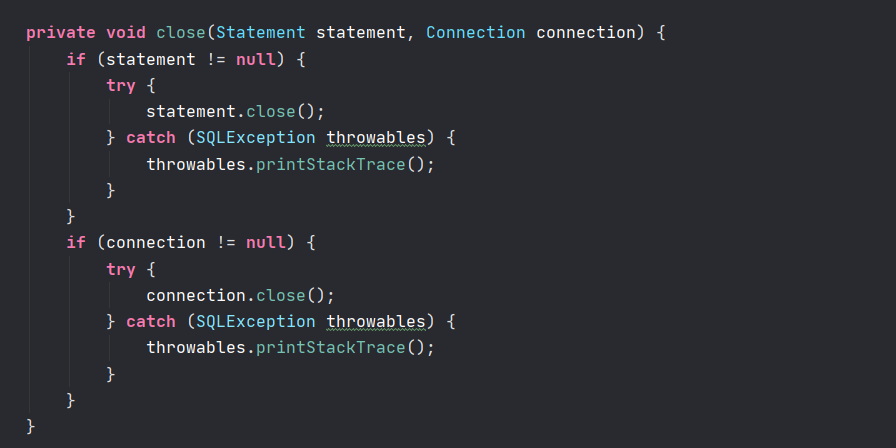
为select重载一个close(select里有一个ResultSet)
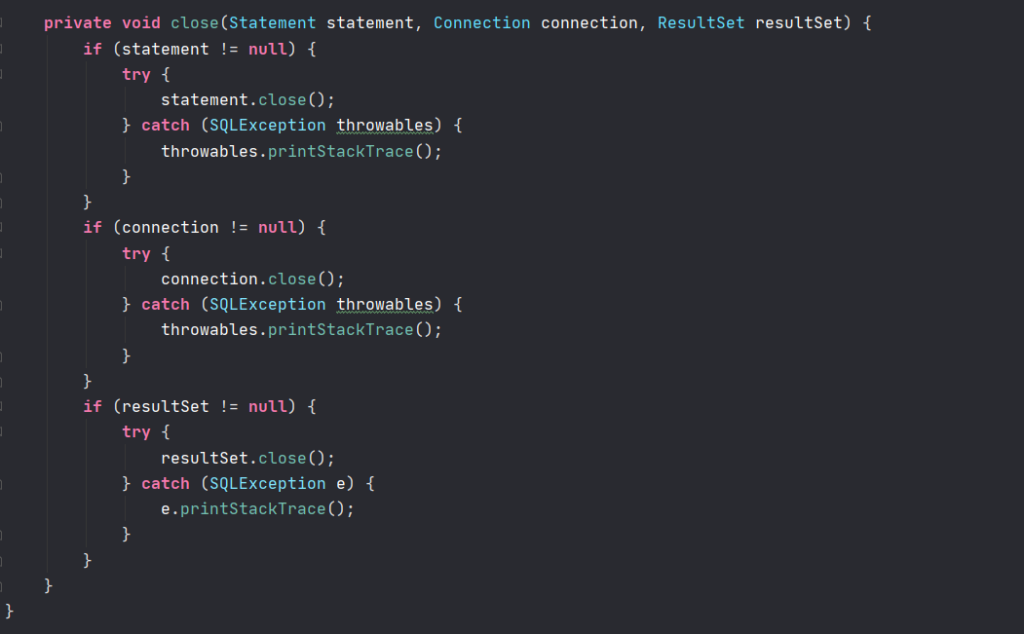
调用此方法关闭Statment和connection,ResultSet
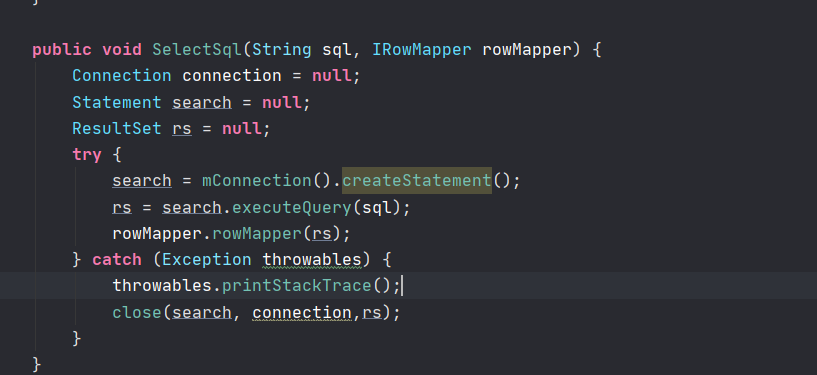
继续优化
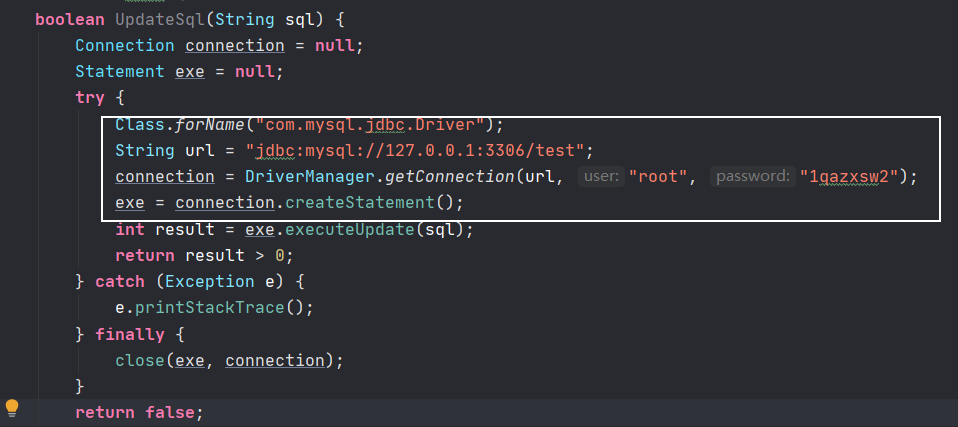
可以看到这四行在查询和更新方法中是重复使用的
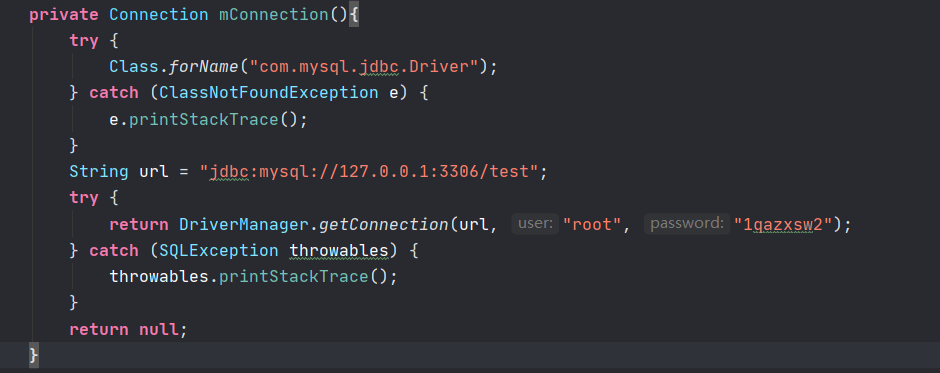
创建方法返回connection对象
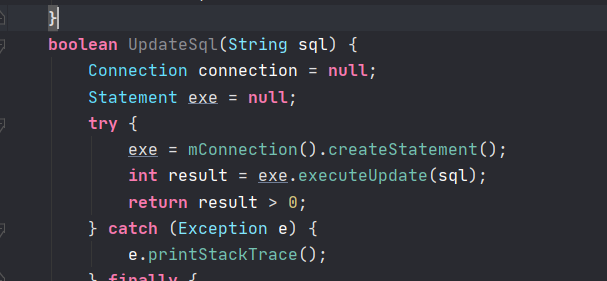
在每次连接数据库时,调用此方法即可
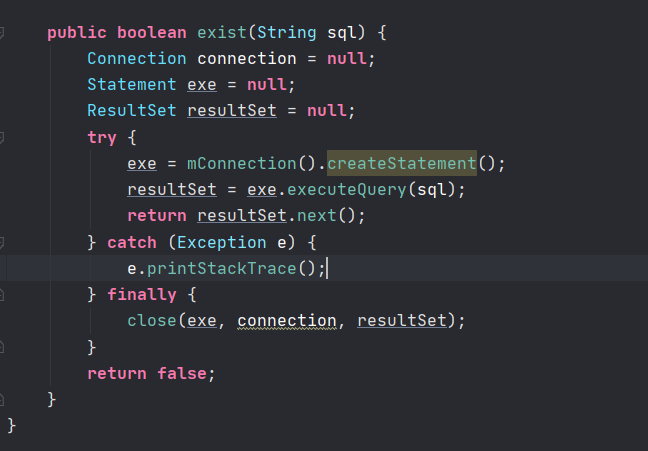
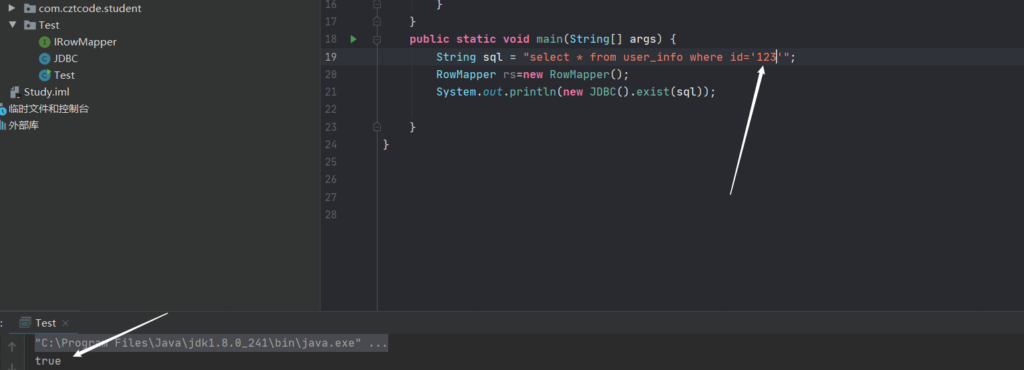
exist方法
写一个exist方法,便于查询数据库中是否已经存入某个数据
查询失败
查询成功
学生管理系统
用以上的知识就可以简单的创建一个学生管理系统,实现方法已经讲解了,这里直接放代码,有兴趣的可以看看
package com.cztcode.student;

import java.sql.ResultSet;
import java.sql.SQLException;
import java.util.Scanner;

import Test.IRowMapper;
import Test.JDBC;

public class main {

    public static void main(String[] args) {
        System.out.println("*********************************");
        System.out.println("*\t\t\t\t*");
        System.out.println("*\t欢迎使用学生信息管理系统\t*");
        System.out.println("*\t\t\t\t*");
        System.out.println("*********************************");
        while (true) {
            menu();
        }
    }


    static void menu() {
        System.out.println("1、添加学生信息");
        System.out.println("2、删除学生信息");
        System.out.println("3、修改学生信息");
        System.out.println("4、查询学生信息");
        System.out.println("请输入操作,以Enter键结束:");
        Scanner in;
        in = new Scanner(System.in);
        String id, name, sex, address,sql;
        int option = in.nextInt();
        switch (option) {
            case 1:
                System.out.println("输入学生信息: id 姓名 性别 地址 ");
                id = in.next();
                if (check(id)) {
                    System.out.println("已经添加过,重新选择");
                    break;
                }
                name = in.next();
                sex = in.next();
                address = in.next();
                sql = "insert into student (id,name,sex,address)values('"+id+"','"+name+"','"+sex+"','"+address+"')";
                JDBC.UpdateSql(sql);
                break;
            case 2:
                System.out.println("请输入id");
                id=in.next();
                if (!check(id)) {
                    System.out.println("没有此学生");
                    break;
                }
                sql="delete  from student where id='"+id+"'";
                JDBC.UpdateSql(sql);
                System.out.println("已删除");
                break;
            case 3:
                System.out.println("请输入id");
                id=in.next();
                if (!check(id)) {
                    System.out.println("没有此学生");
                    break;
                }
                name = in.next();
                sex = in.next();
                address = in.next();
                sql = "insert into student (id,name,sex,address)values('"+id+"','"+name+"','"+sex+"','"+address+"')";
                JDBC.UpdateSql(sql);
                System.out.println("修改成功");
                break;
            case 4:
                System.out.println("请输入id");
                id=in.next();
                if (!check(id)) {
                    System.out.println("没有此学生");
                    break;
                }
                sql="select * from student where id='"+id+"'";
                JDBC.SelectSql(sql,new RowMapper());
                System.out.println("查询完毕");
                break;
            default:
                System.out.println("I'm Sorry,there is not the " + option + " option,please try again.");
        }
    }

    static boolean check(String id) {
        String sql = "select * from student where id='"+id+"'";
        return JDBC.exist(sql);
    }
}
class RowMapper implements IRowMapper {
    public void rowMapper(ResultSet rs) {
        try {
            while (rs.next()) {
                System.out.print(rs.getString("id") + " ");
                System.out.print(rs.getString("name") + " ");
                System.out.print(rs.getString("sex") + " ");
                System.out.println(rs.getString("address"));
            }
        } catch (SQLException throwables) {
            throwables.printStackTrace();
        }
    }
}